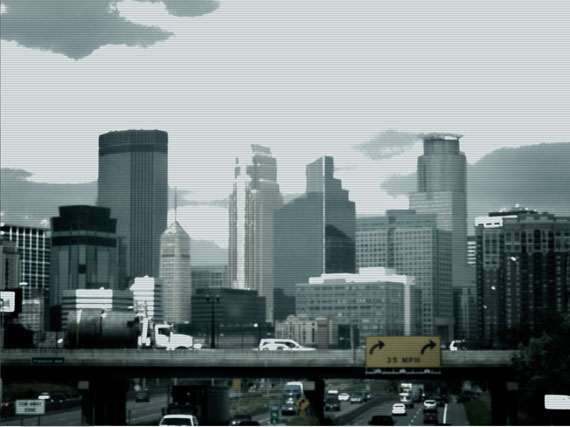
Design Nocturne has a great tutorial for making a CCTV Effect.
The completed image and original photo.
My notes so I can remember what I did:
Place the Image in Photoshop. Command j to duplicate the layer.
Filter > Blur > Lens Blur. Source none. Hexagon 6. Radius 15. Blade Curvature 100. Rotation 0. Specular Highlights Brightness 10. Threshold 200. Noise 0. Distribution uniform. OK
Adjustment Layer - Brightness/Contrast. Brightness 0. Contrast 20. Use Legacy is checked.
Adjustment Layer - Hue/Saturation. Saturation -75.
Make sure foreground is set to black, background set to white.
Adjustment Layer - Gradient. Black to Transparent. Radial. Angle 90. Scale 125. Check Reverse. Check align with layer.
Blend mode Soft Light.
New document. 1 pixel wide. 5 pixels high. Transparent. OK
Fill with Black. Increase canvas size to 15 pixels, keeping the black on top. The bottom is transparent.
Edit > Define Pattern. Name it. OK
Go back to the main document. Add a new layer.
Edit > Fill. Choose the pattern from the list. OK.
Filter > Blur > Gaussian. Radius 4. Opacity 50% or 75%.
Adjustment Layer - Solid Color. 00eaff. Soft Light. Opacity 25%


No comments:
Post a Comment