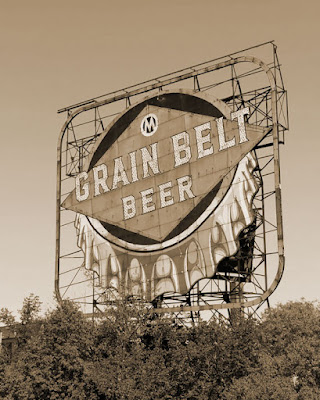
The Grain Belt Beer bottle cap billboard is located a little off Downtown Minneapolis. I used Photoshop to give it an older, light sepia look with a slightly darkened edge.
Link to a tutorial:
My notes.
Layer 1. Go to Images > Adjustments > Desaturate
Layer 2. Adjustment layer button > Solid Color. Input color # ddddbf. Click OK. Change to overlay and reduce the opacity to to 50%.
Layer 3. Adjustment layer button > Solid Color. Input color # 272521. Click OK. Change blending mode to lighten
Layer 4. Edit > Fill > 50% Grey. Filter > Noise > Add noise. Amount 100%, Gaussian, check Monochromatic. OK. Change to Overlay and reduce the opacity to 15%.
Layer 5. Adjustment layer button > Gradient. Choose Radial, 90 degree angle, scale 100%, check reverse. OK. Make the opacity around 22% for a lighter vignette.

This is my old method for sepia. You desaturate the photo and play with the Hue/Saturation presets. The presets have an orange cast that I never really cared for.


No comments:
Post a Comment