I wanted to make some retro 3D greeting cards and found an excellent tutorial at DesignNocturne. I tested it with my 3D glasses and it worked OK. This is the look of 3D without the functionality. You need to have 2 photos that are taken slightly to the left or right of the previous one for true 3D. I need to get out my tripod and take a photo and shift it a few inches for the second shot. The principle would remain the same, you would just use two different images, one for red layer and another for the blue layer. Deke from Lynda dot com has a terrific video.
I tried black and white as well as color photos. To make my image black and white I went to Images > Adjustments > Desaturate.
 My notes:
Command j twice to make 2 duplicates of the original image.
Name one of the new layers blue/green.
Name the other new layer red.
Select the blue green layer in the layers panel.
Images > Adjustments > Levels.
Channels choose Red. Drag the grey pointer all the way to the right. OK
Blending mode Screen.
Select the red layer in the layers panel.
Images > Adjustments > Levels.
Channels choose Green. Drag the grey pointer all the way to the right.
Now go to the Blue channel.
Blending mode Screen. Drag the grey pointer all the way to the right. OK
Blending mode Screen.
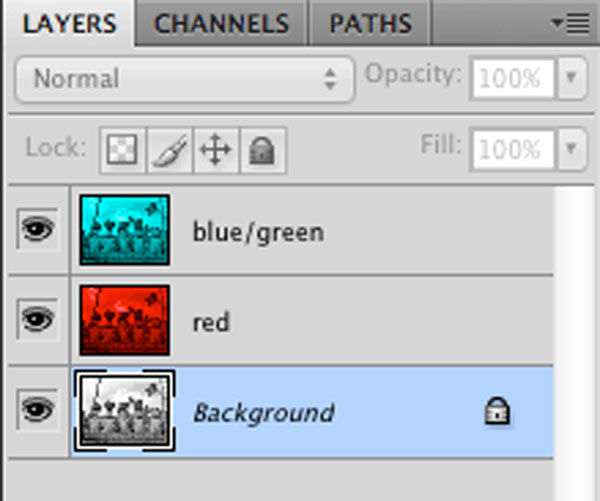
When you look at the layers panel you should have a blue/green image, a red image and the original image. Delete the original image by dragging it to the trash.
Click on the image with the black arrow. Use the left right arrows on the keyboard to nudge the image. You want the blue to become visible on the right since that's the side the blue is on your 3D glasses


No comments:
Post a Comment