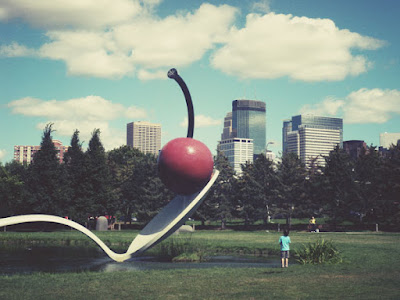
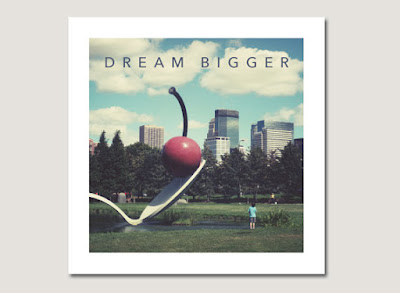
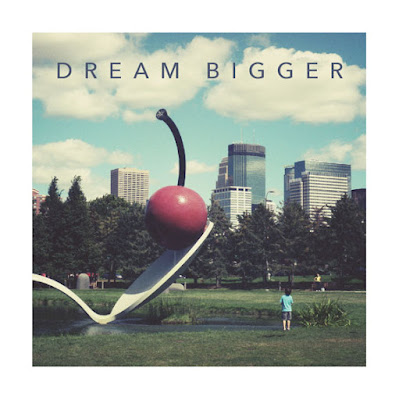
I took this photo of the Spoonbridge and Cherry, a few years ago with a very nice digital SLR camera and decided to make it look like a vintage cross processed image that you would find in Instagram.
It's ironic making photos look like vintage shots when I've spent a lot of time in Photoshop cleaning up actual old photos to get rid of the vintage appearance.
Design Nocturne has a very good tutorial on how to achieve this effect. I only wrote the directions for my own notes in case something happens to the link; I know I'd never remember all the steps.

Command j for new layer
Click on the adjustment layer from the bottom of the layers panel > gradient
Use a black transparent gradient > style radial > scale 150 > angle 90 > check reverse and align with layer
Change the blending mode to soft light > opacity 50% - this will darken the photo's edges
Add a curves adjustment layer
Add points to the curves as shown
Add a Brightness/Contrast adjustment layer . set brightness to plus 15 and contrast to minus 25 > check use legacy.
Add a solid color adjustment layer. Set color to 725c38. Set blending mode to color and the opacity to 25%.
Add another new layer.
Go to edit > fill and choose 50% grey. Mode normal and opacity 100%. OK
Filter > noise > add noise. Amount 100%. Gaussian. Monochromatic.
Filter > blur > Gaussian blur. Radius .5 pixels
Set the noise layer's blending mode to Overlay with a 15% opacity.

Dream bigger. I know I'm dreaming of a giant Cherry Pie.
Available on Etsy


No comments:
Post a Comment