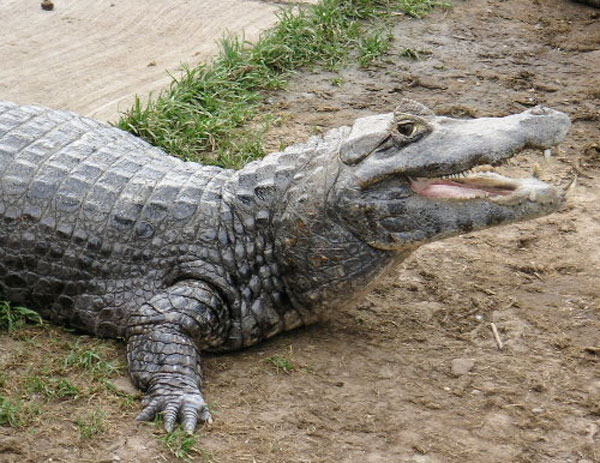
I need to get an iPhone so I no longer have to do cross processing effects in Photoshop.
The alligator not only posed, but I could swear he was smiling.
This is what you'll end up with, an enhanced photo with mounting corners. I have a screen shot of the layers tab further down which helps explain a lot.
Press command j to make a duplicate of the original photo.
Click on the layer adjustment button and choose hue/saturation. Move the saturation slider until the color is dulled.
The image dulled.
Click on the adjustment layer and choose exposure. Shift the sliders.
Click on the adjustment layer and choose gradient. Make the transparent gradient radial, 150% scale, check reverse. OK
Open blending modes and choose soft light.
Image > adjustments > photo filter. Choose sepia and set the density for 20%.
Go to the layers tab, click on the original image at the bottom and press command j.
Apply a Gaussian blur to the new image. Filter > blur > Gaussian blur. Choose a 5 pixel radius.
To add a white border go the original image on the bottom of the layer tab and add a new layer.
Image > canvas size. Add .5 inches. I tired 1 " and it was too large.
The canvas is empty and needs to be filled with a color. Go to edit > fill and choose white.
The photo mounting corner was scanned and then cut out with the pen tool. I saved it as a png so the background could remain transparent. I uploaded it here as a png if you want to use it, it's 1" square at 300 dpi.
Place and size each corner on it's own layer. You can rotate the image by going to edit > transform . rotate. When you are happy with the position, click the check mark.
I gave the corners a subtle drop shadow. Layer > layer style > drop shadow. The light is coming from the upper left so I didn't bother with a drop shadow for the lower right mounting corner.


Thanks for the corner borders.. LOVE them!
ReplyDeleteLove the corners. You made my life so much easier. Thanks for sharing!
ReplyDelete